Previously in this series:
There is absolutely some truth to the idea that modern PC building is like LEGO for adults. Learning about modern parts and compatibility and assembling my own parts list was as difficult if not a little bit more so than the build itself. I was helped immensely by the numerous build videos I’ve watched on YouTube over the past year or so.
In case you haven’t immersed yourself in that world, here’s a brief overview of what I did which I will follow up with the few snags I did hit along the way.[1]

The Build Process
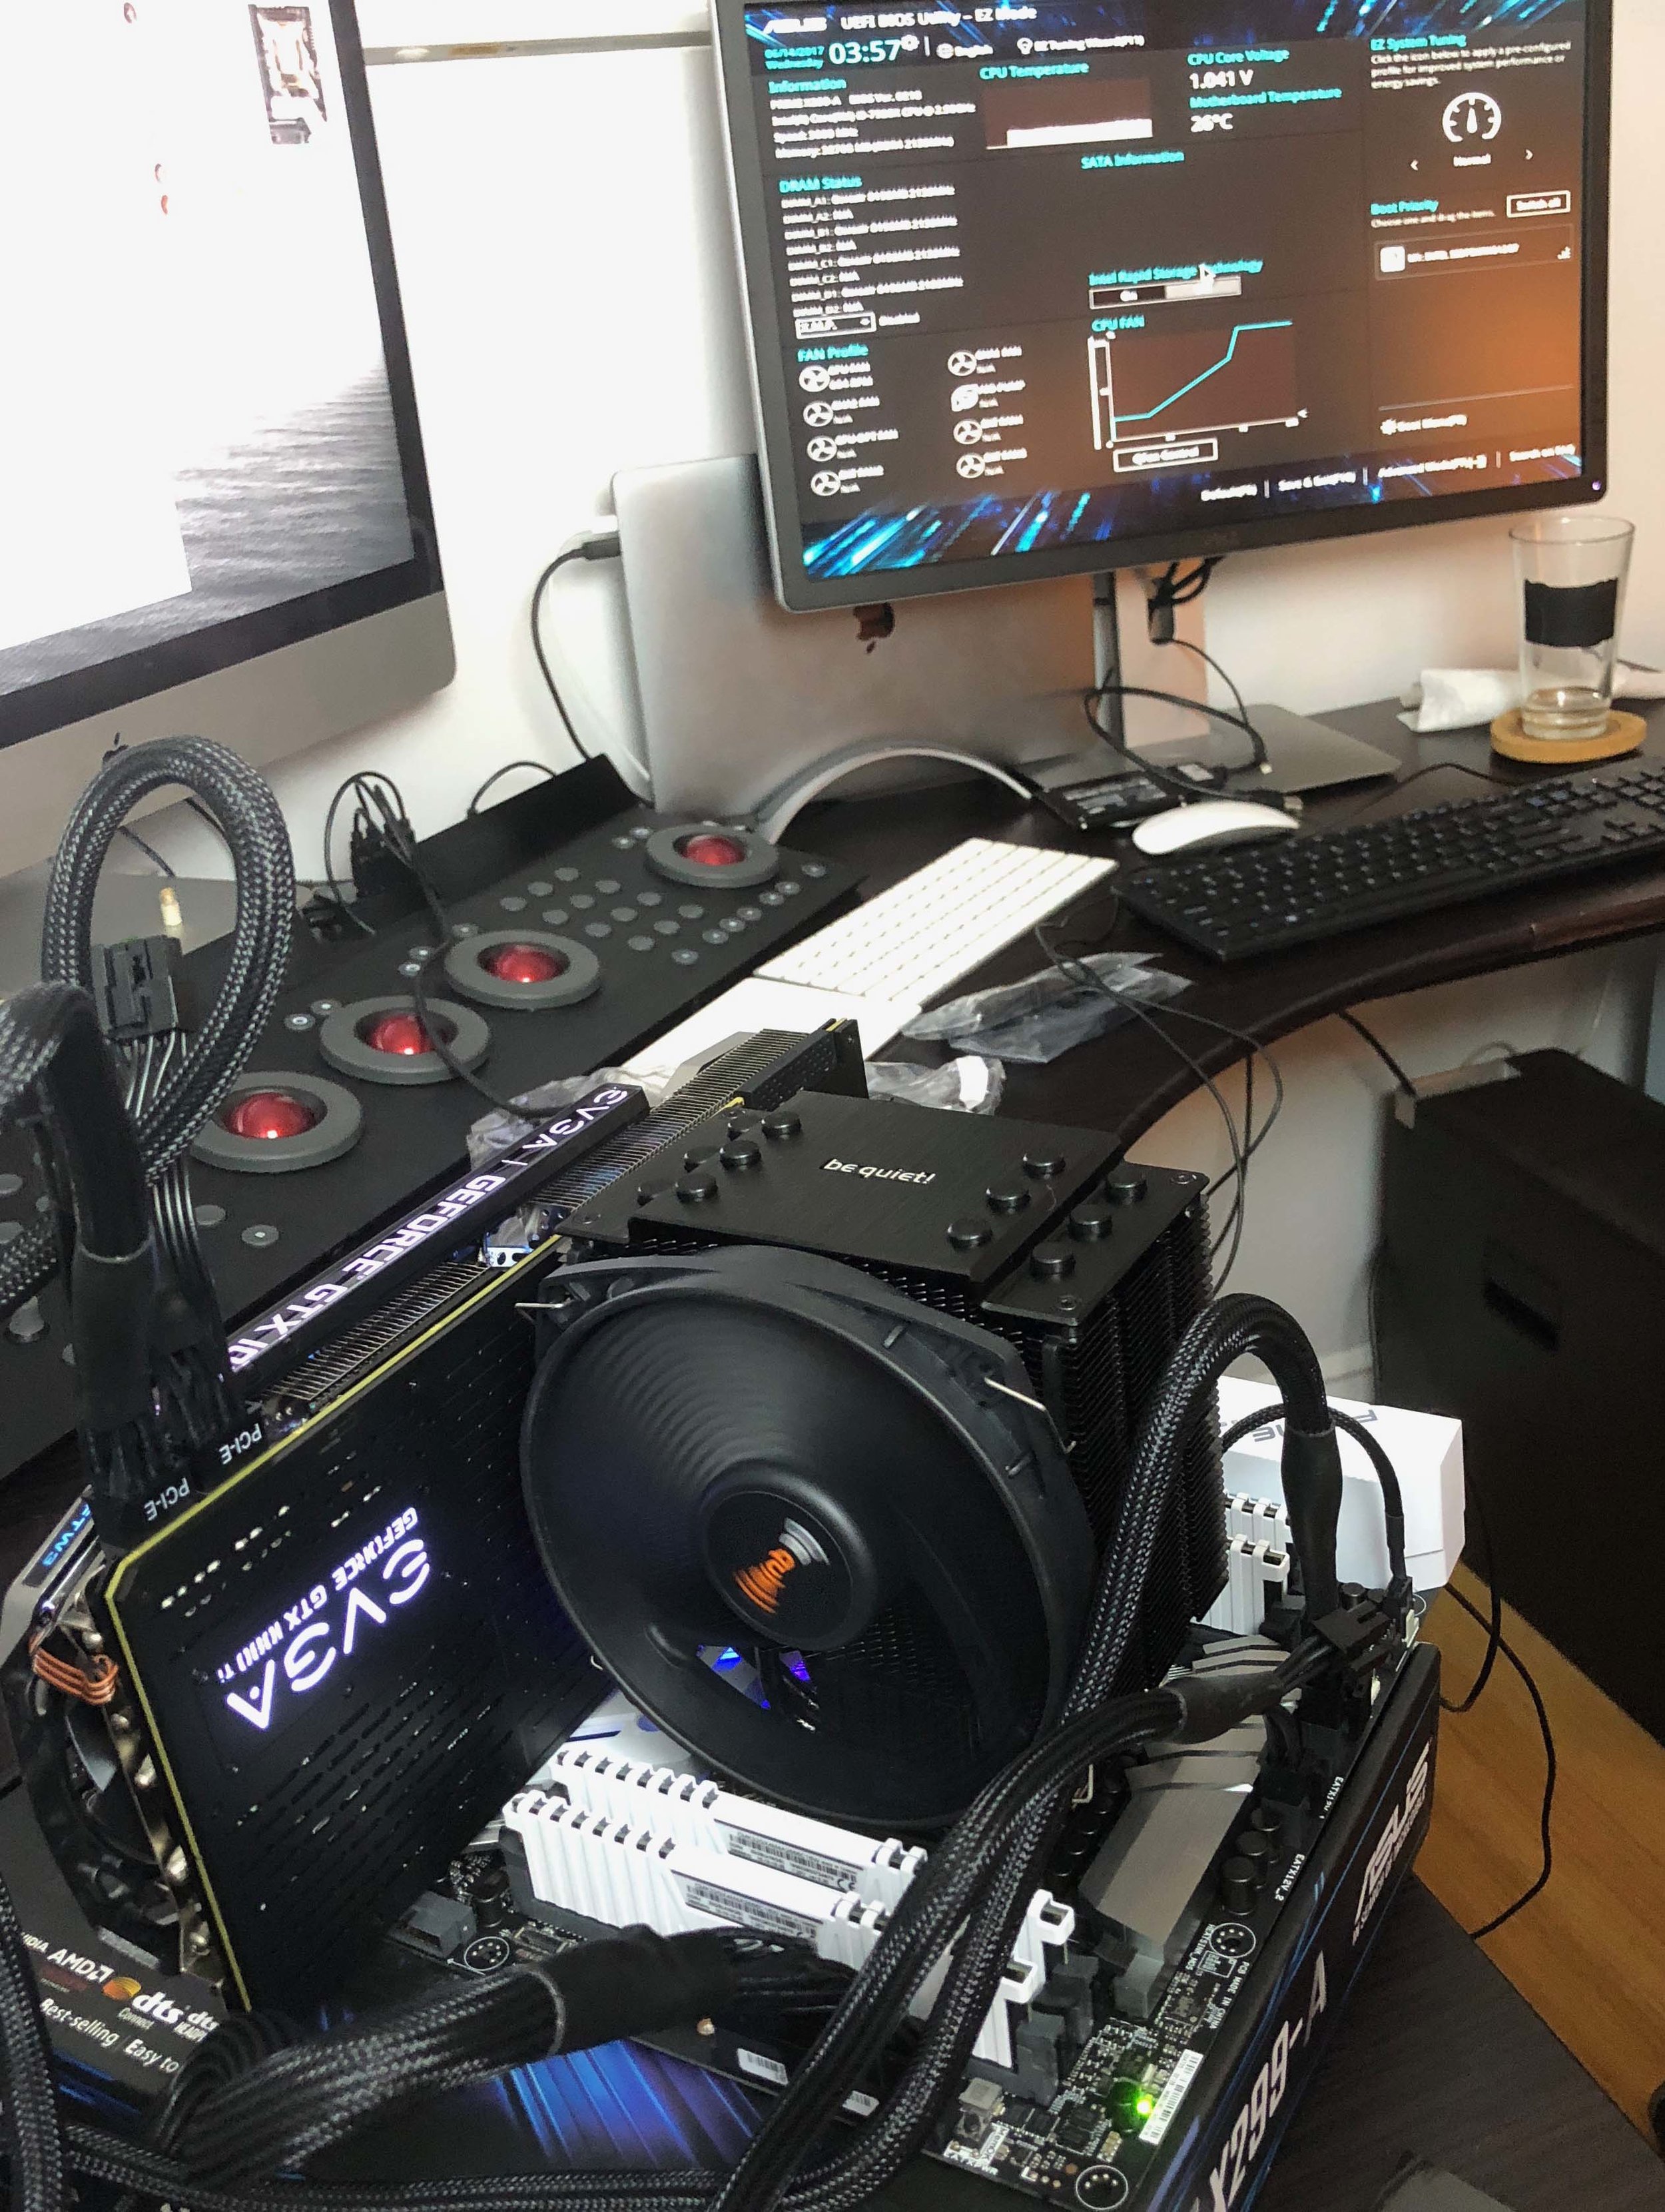
The aforementioned YouTubers had a great piece of advice – build your system outside of the case first to make sure you can at least get into the BIOS and everything seems to be working okay. In the off chance you have a bad component or some kind of incompatibility it is much better to discover that before you spend an hour meticulously tightening every screw and hiding all the cables.

So, I set my motherboard on the box it came in and proceeded to drop in my CPU and RAM with no problem. I applied a small bit of thermal paste that came with my cooler onto the CPU and then attached my CPU cooler. I was impressed that with the Intel LGA–2066 socket I didn’t have to put on a back bracket on the other side of the motherboard like I’ve seen in other builds with different sockets. A few screws released the heatsink covering the M.2 connector where I slid in the Intel NVMe SSD. Finally I connected my graphics card and wired up the 5 power supply cables where they needed to go. I ran a DisplayPort cable to my monitor and hit the power button on the board.

Success! On my first power up everything worked and I got into the UEFI/BIOS with no issues. I did a quick test of the USB ports to make sure they seemed good and I shut it down.
To start building in the case I removed the front and both side panels and lay the case on its side so I could start by lowering in the motherboard. I had removed the graphics card but left the CPU, cooler, and RAM on. Getting all that screwed in I stood the case back up and inserted the power supply and started running its cables through the case. Then I connected the case fans, dropped the GPU back in, and routed all the case connectors like the front panel USB parts, power button, etc.

Finally it was time to add the glass side panel back, clean off my desk, and see how it looked:

Minor Issues Encountered
My first issue was regarding attaching the CPU cooler. I think for any first time builder this part will feel a little intimidating due to the fact that you are applying goop to your CPU and then bolting on a large heavy item. If you totally screw up, you have to clean it off and start over. If you screw it up a little bit and don’t realize it, you could have issues running your PC as heat won’t be efficiently transferring from your CPU to the cooler and out. In my case the cooler had four corners to its bracket which each had a hole in them where a threaded standoff was coming up from the board. While it was a fit, it was a tight fit and the edges of one of the four holes was always catching on the thick threads and not going all the way down. Since I had already applied the thermal paste, I didn’t want to take the whole thing off and try again so I was left doing small adjustments to get it to fit. Eventually what it did it was a harder push than I thought would have been necessary. Giving some force to the stuck side clicked it right into place!
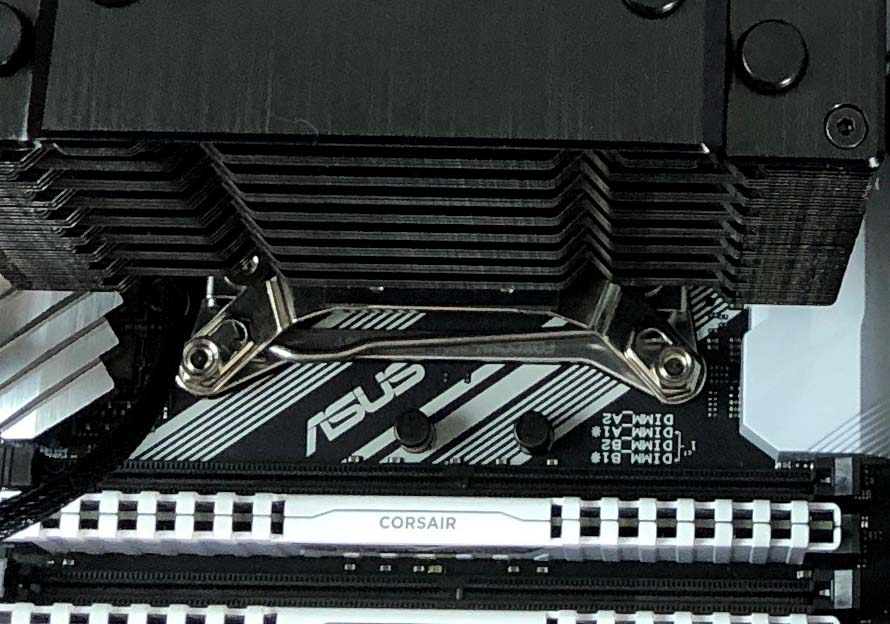
The troublesome bracket attaching the CPU cooler to the motherboard.
The second issue came up installing drivers. A lot of the advice I had read was to run the latest drivers for your motherboard once you were booted into Windows. In my case, something about what I initially installed after my first boot into Windows caused the motherboard to update in such a way that Windows no longer thought it was the same computer. Thus when it tried to verify the activation key, Microsoft’s servers responded that the key had already been used. Thankfully a quick call to a support number was able to exchange a long complicated number that reset the activation.
Finally, I’m in Windows, I’ve got my stuff installing, and I’m loving it. I click Shut Down to call it a night, and I am presented with the log in screen. Hm. Okay, Shut Down from the log in screen? Flash to black, then back at the log in screen. After some forum diving I discovered this is a known issue that can happen in Windows 10 having to do with the Intel Power Management Engine getting stuck trying to go into a hybrid sleep mode rather than true shut down. Following the steps in this forum did the trick.
So, that’s the build! All in all it took me about 3 hours. I imagine if I were to re-do it now it would be more like 2. It’s been solid except for the above mentioned three little issues during the build. My next post will go over benchmarking the PC and seeing how it compares to the top of the line 2012 iMac I’m replacing.

-
Spoiler Alert: It was Windows. ↩


